Cleaning and Maintaining Your Solo Stove
Cleaning your Solo Stove involves a few straightforward steps to ensure its longevity and performance. It’s essential to regularly clean the exterior and interior of the stove, including the ash removal process.
For the exterior of your Solo Stove, regular cleaning is key to maintaining its appearance and functionality. Stainless steel parts should be cleaned with a non-abrasive brush or a soft cloth to avoid scratches. This helps in removing debris and maintaining the stove’s aesthetic appeal. For specific models like the Solo Stove Mesa or Yukon, the process remains largely the same, ensuring the exterior is kept clean and free from residue.
When it comes to cleaning ash out of your Solo Stove, particularly models like the Yukon or Bonfire, the right tools make a significant difference. A regular shop-vac can be effective, but an ash vacuum is recommended for optimal results. Ash vacuums are equipped with filters that efficiently capture ash particles, making the cleaning process cleaner and more efficient.
After exposure to rain, it’s essential to clean your Solo Stove to prevent rust and other damage. Ensuring that all ash and moisture are removed after rain will prolong the life of your stove.
Read Also: 7 Reasons for a Solo Stove Smoking So Much
Smart Exterior Cleaning for Solo Stoves
Keeping your Solo Stove clean is not only essential for its appearance but also for its performance and longevity. The cleaning process involves several steps, each tailored to different parts of the stove.
The exterior of the Solo Stove should be your first focus. Use a soft, non-abrasive cloth or a gentle brush to wipe down the surface. This ensures that you don’t scratch the stainless steel while removing dirt and grime. For tougher stains or areas with discoloration, a mild detergent mixed with water can be effective. Apply the solution gently, scrubbing in a circular motion, and then rinse with water.
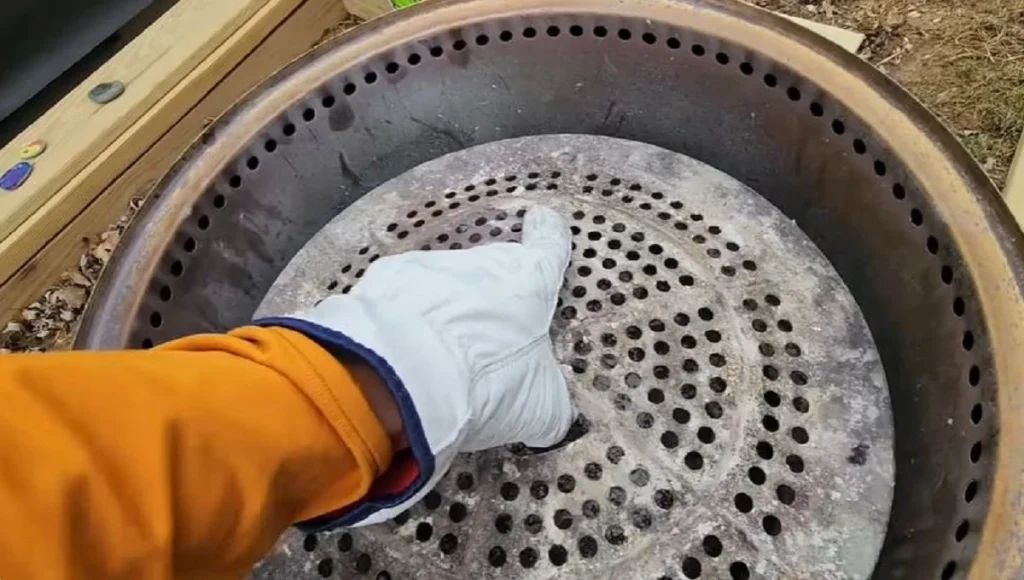
Next, focus on the interior, particularly the ash removal. After each use, once the stove has cooled down, remove the ash pan and dispose of the contents. For more thorough cleaning, use an ash vacuum to remove any remaining debris inside the stove. This is especially important for models like the Yukon or Bonfire, where ash accumulation can be significant.
And, inspect the stove for any signs of rust or corrosion, especially after exposure to rain or moisture. If any rust is present, gently sand the area and apply a high-temperature resistant paint suitable for stoves. This not only restores the stove’s appearance but also protects it from further damage.

Ash Removal Expertise for Solo Stoves
The process of ash removal from your Solo Stove is as important as the cleaning itself. Comparing a standard shop-vac to an ash vacuum reveals that ash vacuums are more suited for this task. They come equipped with specialized filters to effectively capture fine ash particles, reducing mess and improving safety.
For effective ash removal, it’s essential to use the ash vacuum correctly. Ensure that the stove is cool before starting the cleaning process. This is particularly important for models like the Yukon and Bonfire, which have larger ash pans. Safety precautions should always be a priority, including wearing protective gear like gloves and masks to avoid inhaling ash particles.
A thorough cleaning of ash not only contributes to the efficient functioning of your Solo Stove but also extends its lifespan. Regular removal of ash prevents build-up, ensuring that air flows freely for optimal combustion during use.
Read Also: 8 Common Hardy Wood Stove Problems and How to Solve Them
Post-Rain Care for Solo Stoves
After your Solo Stove has been exposed to rain, immediate and proper care is essential to prevent rust and corrosion. The first step involves drying the stove thoroughly. If any part of the stove is left damp, it could lead to rust, which is detrimental to both the appearance and functionality of the stove.
Once the stove is dry, a thorough cleaning is necessary. Use mild cleaning agents and soft cloths to clean the surface, paying special attention to any areas that might be prone to water accumulation.
To protect your Solo Stove from weather elements in the future, consider using protective covers when the stove is not in use. These steps not only preserve the stove’s longevity but also ensure it’s ready for use whenever needed, providing a reliable outdoor experience.
Solving Discoloration Issues in Solo Stoves
Discoloration in Solo Stoves can be caused by various factors, including high heat, exposure to the elements, and certain types of fuel. Identifying the specific cause is the first step in addressing the issue. For instance, heat-induced discoloration might require a different treatment than rust-related discoloration.
Cleaning agents play a pivotal role in removing discoloration. Choose products designed for stainless steel, ensuring they are gentle enough to not damage the surface. A step-by-step cleaning process might involve applying the cleaning agent, gently scrubbing the discolored area, and then thoroughly rinsing and drying the stove.
Preventative measures can help avoid future discoloration. These might include using the stove at recommended temperatures, proper storage, and regular cleaning.
Learn More: Cleaning Solo Stove: Sparkle Your Outdoor Cookery!
Cleaning for Diverse Solo Stove Models
Each Solo Stove model, from the compact Solo Stove 10 to the larger Mesa XL and Yukon, has unique cleaning requirements. Tailoring your cleaning approach to the specific model ensures effective maintenance and optimal performance.
For smaller models like the Solo Stove 10, cleaning might be more straightforward, focusing on the ash pan and the exterior surface. Larger models, such as the Yukon, require more extensive cleaning due to their size and ash capacity. Special considerations for these models include ensuring all ash is removed from corners and vents.
A regular maintenance schedule is vital for all models. This includes routine ash removal, surface cleaning, and periodic checks for any signs of wear or damage.
To see our latest posts Click Here