Glass Stove Top Damage Or Scratched! How To Fix It?
Note: This article may contain affiliate links, which means if you make a purchase following our links won’t cost you extra, but we may earn a commission. Learn more
If you have a glass stove top, then you know how easy it is to damage. Whether it’s from a pot that’s been boiling over or a spill that’s been left to sit, there are many ways that your stove top can become damaged. And once it’s damaged, it can be very difficult to repair.
Luckily, there are a few things that you can do to fix your stove top and make it look new again.
If you have a glass stove top, chances are you’ve had to deal with some form of damage at some point. Whether it’s a crack, chip, or just general wear and tear, it can be frustrating to keep your stove top looking like new. There are a few things you can do to minimize the damage to your glass stove top.
First, be careful what you put on the surface. Avoid using harsh chemicals or abrasive cleaners, as they can cause further damage.
Second, make sure anything that comes in contact with the surface is clean and free of debris.
This includes pots and pans, as well as cooking utensils. If you do end up with damage on your glass stove top, there are a few ways to fix it. For minor chips and cracks, clear nail polish can help seal the area and prevent further damage.
If the damage is more significant, you may need to replace the entire cooktop. No matter how careful you are, chances are good that you’ll eventually end up with some form of damage on your glass stove top.
Related: Best Cleaner For Glass Stove Tops: Our Top 9 Picks
Can a Scratched Glass Stove Top Be Repaired?
It’s inevitable. No matter how careful you are, your glass stove is bound to get scratched. Whether it’s from cooking spills or just everyday use, scratches can make your stove look old and worn. But don’t despair! There are ways to repair scratched glass and make your stove look good as new.
Here are some tips for repairing scratched glass on your stove:
1. Use a glass-specific cleaner: First things first, you’ll need to clean the area around the scratch. Be sure to use a glass-specific cleaner so you don’t end up making the scratch worse.
2. Apply a glass-repair kit: There are special kits you can buy that are designed to repair the scratched glass. Follow the instructions that come with the kit to apply the repair material.
3. Use clear nail polish: If you don’t have a glass-repair kit, you can try using clear nail polish. Apply the nail polish to the scratch and allow it to dry.
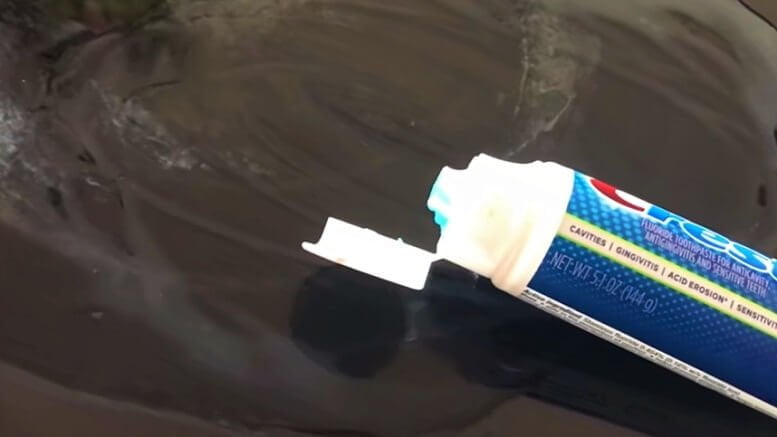
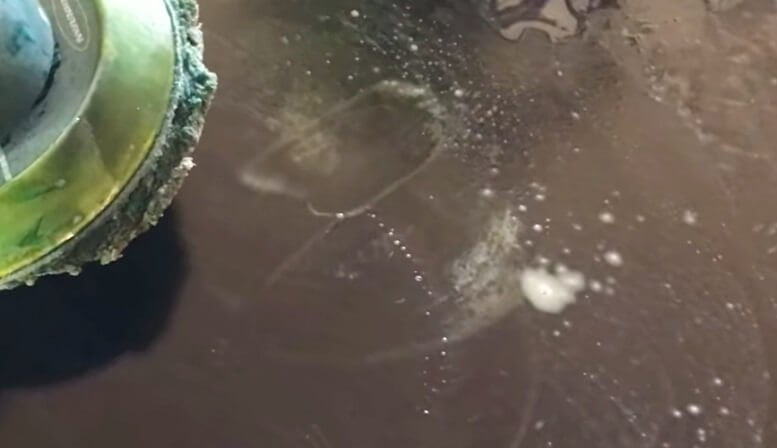
4. Use toothpaste: Believe it or not, toothpaste can also be used to repair scratched glass. Apply a small amount of toothpaste to the scratch and rub it in with a soft cloth.

5. Use a pencil eraser: If you have a pencil eraser, you can try using it to repair the scratch. Just rub the eraser over the scratch in a circular motion.
Can You Ruin a Glass Stove Top?
If you have a glass stove top, you may be wondering if it’s possible to ruin it. The answer is yes, you can definitely ruin a glass stove top.
1. If you use the wrong kind of cleaner on your glass stove top, you can easily scratch or etch the surface. This will not only make your stove top look bad, but it will also make it harder to clean in the future. So be sure to use a gentle, non-abrasive cleaner on your glass stove top.
2. Another way to ruin your glass stove top is by using too much heat. If you set your burner settings too high or place hot pots and pans directly on the surface, you can crack or shatter the glass. So be sure to use moderate heat settings and always use a pot or pan holder when cooking.
3. If you drop something heavy on your glass stove top, it could crack or break the surface. So be careful when handling pots and pans and always lift them straight up rather than sliding them across the surface. If you follow these tips, you should be able to avoid ruining your glass stove top.
How Much Does It Cost to Replace the Top of a Glass Top Stove?
If your glass stovetop is cracked or chipped, you may be wondering how much it will cost to replace the entire thing. Unfortunately, replacing a glass stovetop can be quite expensive. Depending on the brand and model of your stove, a new glass top could cost anywhere from $200 to $1,000.
And that’s not even including the cost of labor! If you need to have someone come out and install the new glass top for you, that could add another $100 or more to the total bill. So if you’re looking at a pretty penny to fix your stove, you may want to consider other options first.
For example, if the damage is just cosmetic and doesn’t affect the function of your stove, you might be able to get away with just covering up the crack with some clear tape. Or if the damage is more significant but doesn’t extend all the way through the glass, you might be able to have a professional repair it for less than it would cost to replace the whole thing.
Of course, if your stovetop is severely damaged or poses a safety hazard, the replacement will probably be your best option.
But before you make any decisions, be sure to consult with a professional so you can figure out what will work best for your particular situation.
What Do You Do If Your Glass Stove Top Is Scratched?

If your glass stove top is scratched, you can try a few different things to get rid of the scratches.
You can try using a magic eraser. Just dampen the eraser and rub it over the scratch.
You may need to do this a few times to get rid of the scratch. If the magic eraser doesn’t work, you can try using white toothpaste. Put a small amount of toothpaste on a soft cloth and rub it into the scratch in a circular motion.
Again, you may need to do this a few times to get rid of the scratch. If neither of these methods works, you can always buy a new piece of glass for your stove top.
In Short
If your glass stove top is damaged, you may be able to repair it yourself. Just clean the area around the damage with a soft cloth and mild soap. Use a razor blade to remove any loose glass or debris from the area.
Then, apply a layer of epoxy resin to the damaged area and allow it to dry and sand the area smoothly and apply a new layer of epoxy resin.
To see our latest posts Click Here